Mother's Day

Mother’s Day is such an important holiday. It is the one day of the year we get to focus on showing our moms how thankful we are for them. We often feel like we can’t do enough on this day to show our mom’s how much they mean to us. However, there are a few small things you can do to make the day special for them.
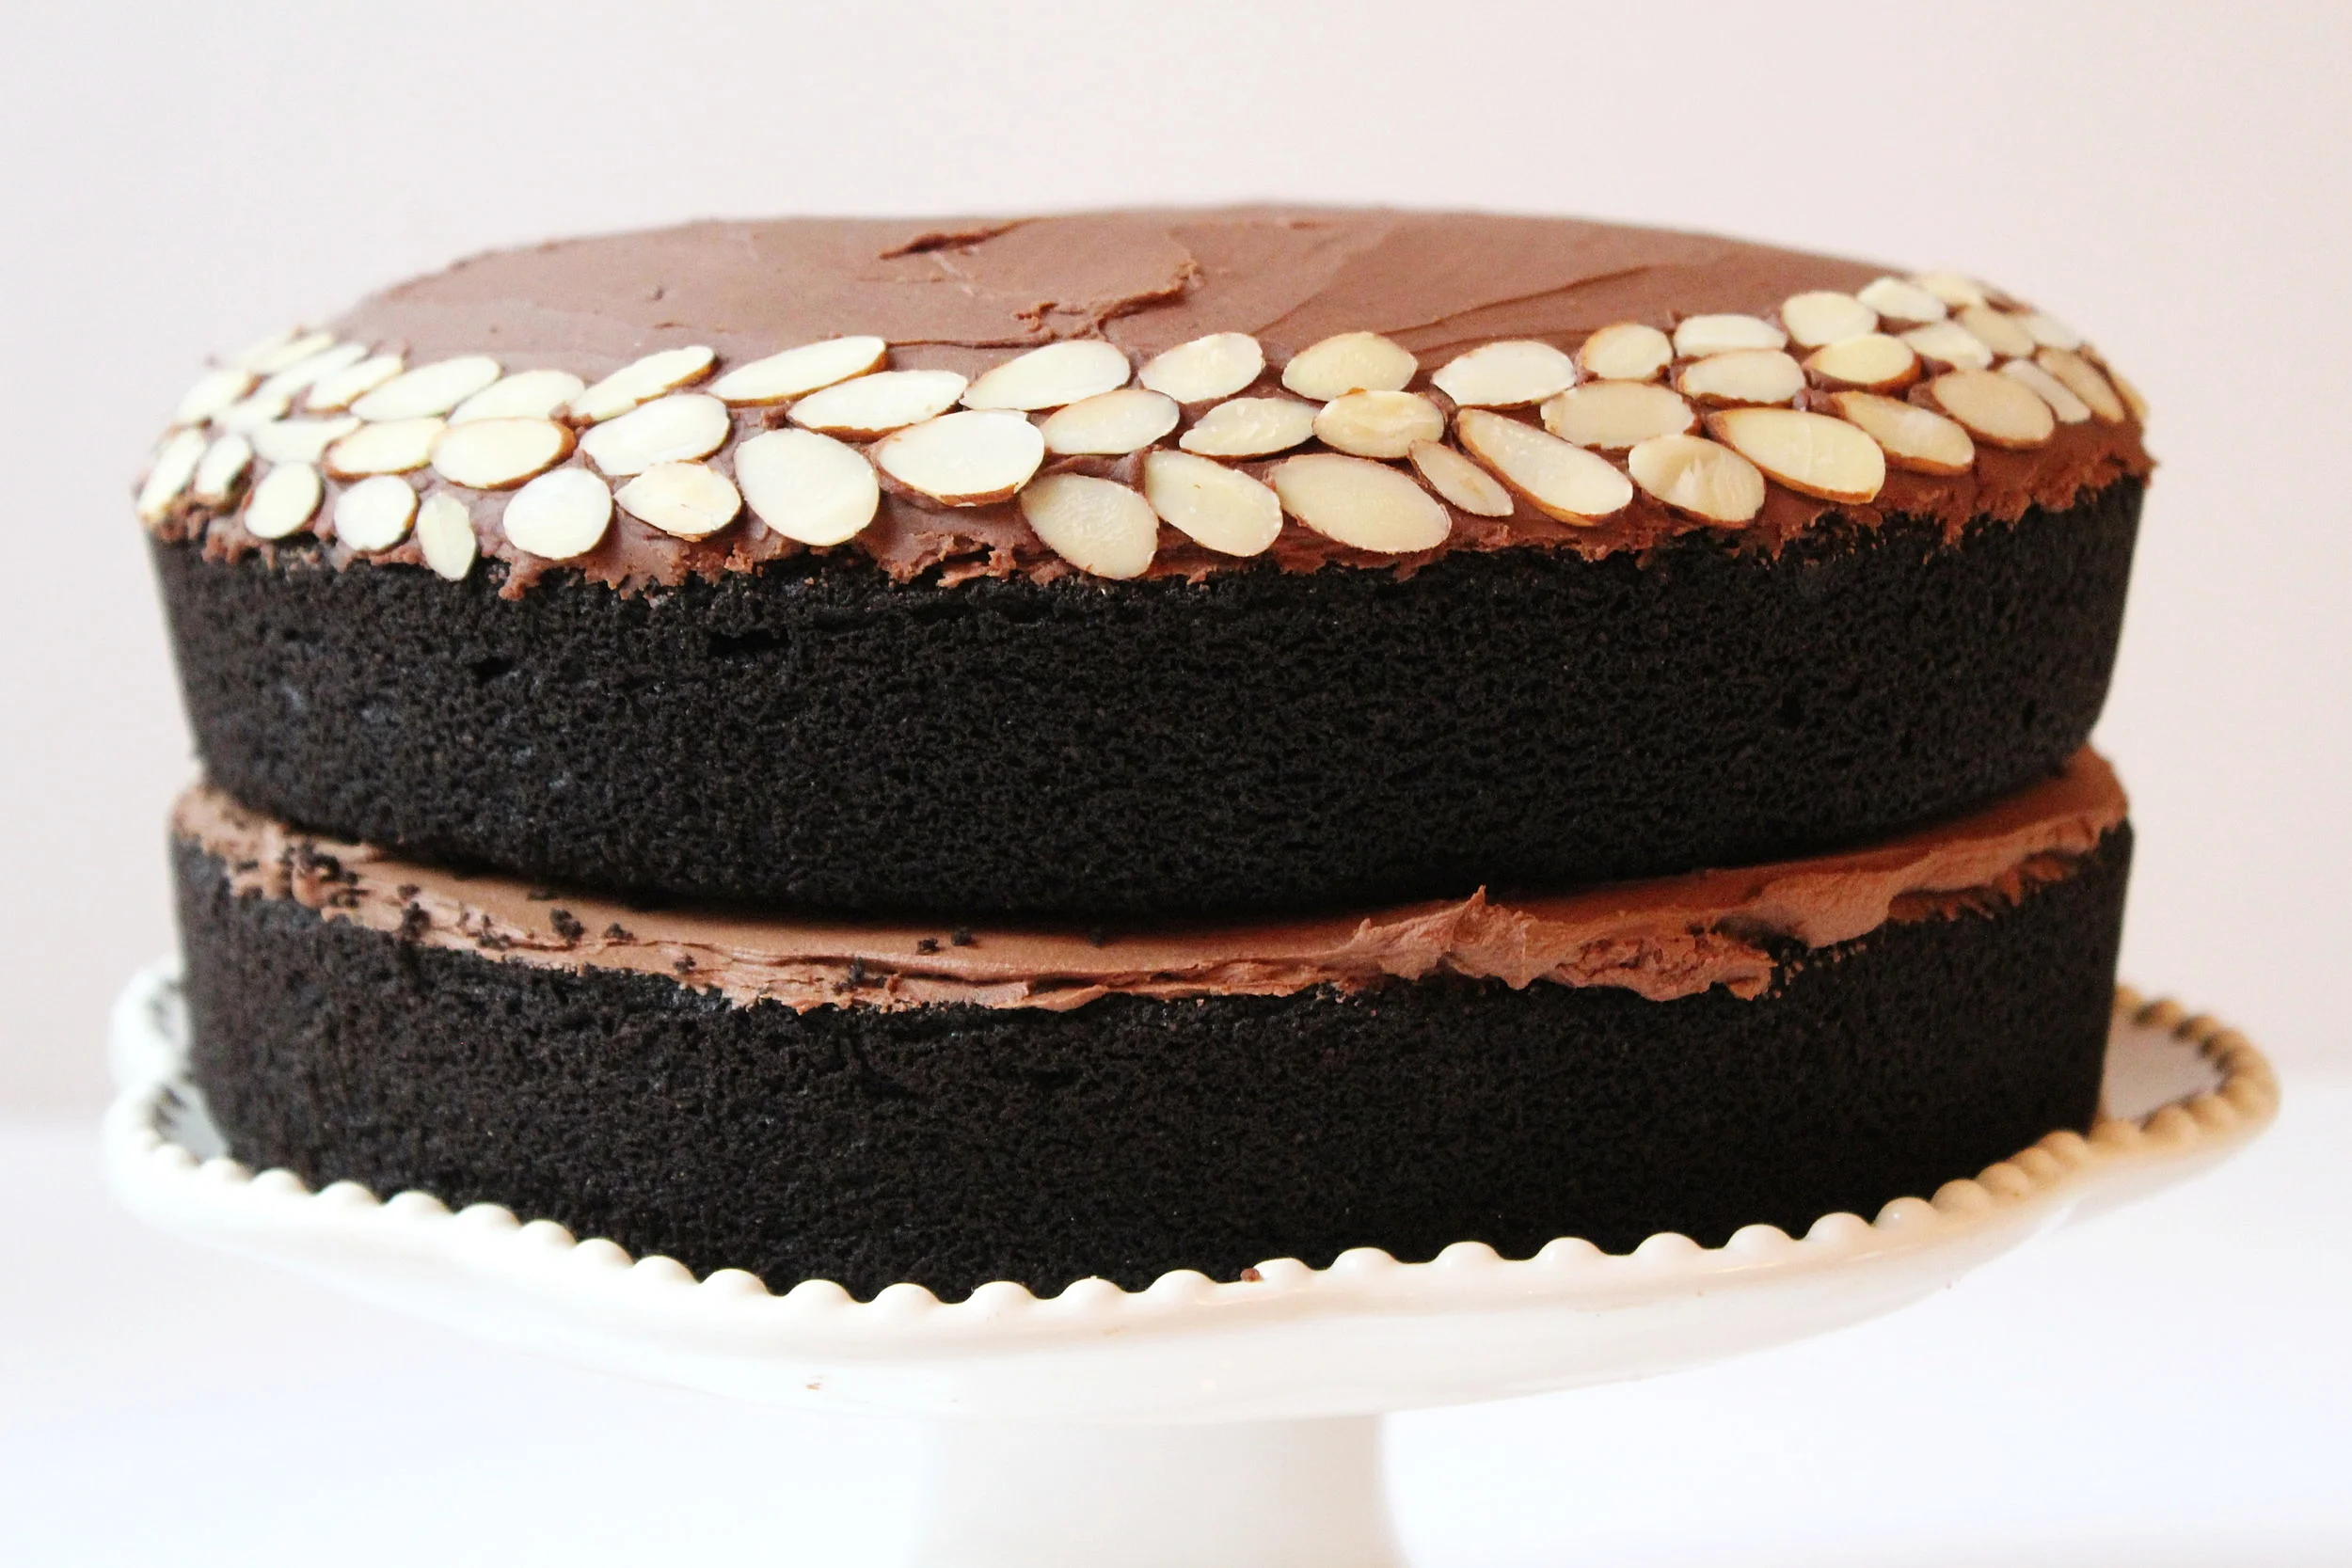
"BUTTERMILK" CHOCOLATE ALMOND CAKE
One way is to bake them something sweet. However, if your mom is sensitive to gluten and dairy like mine is, the last thing you want to do is bake them something that will taste delicious at the table, but will make them feel sick later. When I found The Sweet and Simple Kitchen’s Buttermilk Chocolate Almond Cake recipe on her blog, I knew it was something I wanted to make to celebrate Mother’s Day. However I had to use quite a few substitutes to make this recipe friendly for those following a gluten & dairy free diet. You can find the recipe I used at www.thesweetandsimplekitchen.com/chocolate-almond-cake/, as well as the list of substitutes below that I used to make this cake gluten and dairy free.


SUBSTITUTES
Chocolate Layer Cake
- 1 cup of butter : 1 Earth Balance Vegan Butter Stick
- 1 ½ cups of buttermilk : 1 ½ cups of unsweetened almond milk mixed with 1 ½ tablespoons of lemon juice (let it sit for 10 minutes before using to create “buttermilk”)
- 2 cups of all-purpose flour : 2 cups of Bob’s Red Mill Gluten Free 1 to 1 Baking Flour
Dark Chocolate Fudge Frosting
- 1 cup of butter : 1 Earth Balance Vegan Butter Stick
- 1 tablespoon of heavy cream : 1 tablespoon of Trader Joe’s Coconut Cream
- 6 oz. melted dark chocolate : 1 (9 oz.) bag of Enjoy Life Dark Chocolate Morsels (Enjoy Life is an allergy friendly brand that makes products that are free of wheat, dairy, soy, and much more)
ROSE BOX
Another way I wanted to make Mother’s Day special this year was to make beautiful rose boxes. This requires you to get a little crafty. However, it makes giving a small gift such as a travel perfume spray, much more meaningful. I’ve seen much larger versions of these rose boxes all over the internet, and figured it couldn’t be too complicated to make.
For how beautiful these rose boxes are, they really weren’t too difficult to assemble. I had to make a trip to a craft store, such as Joann Fabrics, to get the right materials. Since I was making two of these boxes, I chose smaller round “boxes” to make the project much more manageable. It also allowed me to only use a bouquet of 1 dozen roses (6 white, 6 red), which helped make each box unique.


MATERIALS
- 2 small cardboard boxes (round or square)
- 2 sheets of parchment paper
- 2 small blocks of wet floral foam (such as FloraCraft or Oasis)
- 1 package of ribbon
- 1 dozen roses
STEPS
1. Using a knife, cut the floral foam into the shape and size of your boxes, so that it can easily fit inside.
2. Gently place the cuts of floral foam into a bowl of water. The foam will start to sink on its own as the foam soaks up the water. It will also change from a light green color, to a dark green. Be sure not to press down on the foam to when placing it into the water.
3. Cut out a sheet of parchment paper into a square that covers the top of each box. Place the soaked wet floral foam over the parchment paper, and push it into the box. The parchment paper will keep the wet foam from soaking the cardboard box. Cut away any parchment paper that is visible over the edges of the box.
4. Cut off the stems of the roses, so that they are only about 1 ½ inches long. Press each rose stem into the wet floral foam. Do this with as many roses it takes to fill the box. The boxes I used only took 6 roses for each box. Take a few of the leaves from the rose stems and also press them into the floral foam to fill any gaps at the edges of the box.
5. Cut enough ribbon to tie a bow around the box. I left enough space to add the travel perfume I was planning on gifting with the rose box.
6. Add the lids to the bottom of the boxes. These are now ready to gift!
I think it is safe to say that Mother’s Day was a success this year with the help of the decadent chocolate cake and the rose boxes! Hopefully these ideas will help make your Mother’s Day special as well.